Argos CI + Playwright

Argos CI offers a seamless solution for UI verification within pull request (PR) reviews. It is integrated into your CI/CD pipeline to automatically detect visual changes against a reference build. Through the Argos App dashboard, you can view these visual changes and then approve or reject them before they reach production.
Benefits:
Simplifies code reviews
Detect regressions
UI consistency across devices and browsers
Argos can be integrated with Playwright, Cypress, WebdriverIO, and other frameworks. In this article, we will focus on integration with Playwright and running the tests on GitHub Actions.
Current state of visual comparison using Playwright:
Playwright is a great tool and I love using it for all my testing needs and already has a great API for visual testing. But let’s say you are working on Mac using `arm64` and when you generate a snapshot of the page locally, the name of the file generated is `example-test-chromium-darwin.png` where chromium is the browser and darwin is the platform. Now, if your tests are running on CI (linux/amd64) then your tests will fail complaining that there is no matching snapshot and the screenshots generated on mac vs linux are slightly different. So, there are two problems:
Managing screenshots for different architecture is painful. (Need to run tests locally in a docker container to produce linux snapshots)
No UI dashboard to update existing screenshots. (Reviewing changes to the page using intuitive user interface)
Here comes Argos CI to the rescue.
Create Argos account
Navigate to Argos app: https://app.argos-ci.com/login
Connect with GitHub
You will see a dashboard like below (I am on a free/hobby plan)
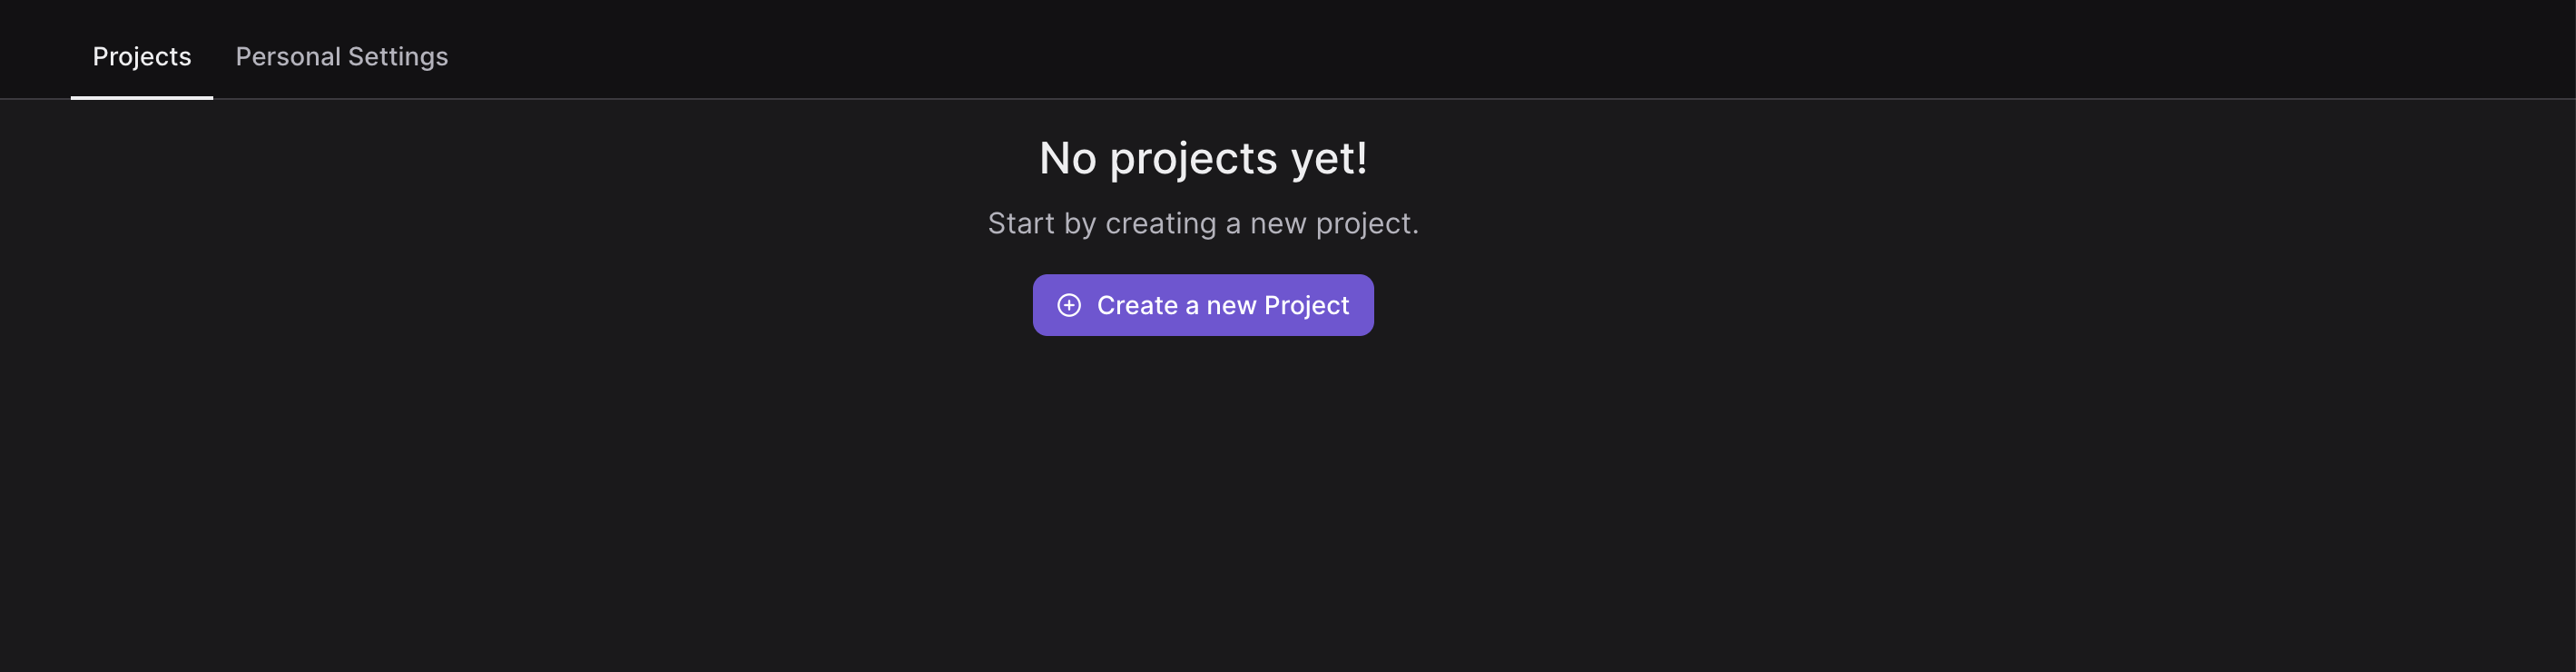
Connect GitHub Project to Argos account
Create a new repo in your GitHub account
Go to your Argos dashboard: https://app.argos-ci.com/
Click on “Create a new project”
Connect with GitHub
Install and authorize Argos CI on the newly created repo (you can also install on all repositories)
You will be automatically navigated to Argos CI dashboard. Import the repository where you installed the Argos CI

Locally, from project’s root directory, run the following command:
# install playwright and browsers (choose default options)
npm init playwright@latest

# install Argos playwright SDK
npm i --save-dev @argos-ci/playwright
(note: you can delete the tests-examples folder and remove the existing tests from `example.spec.ts`)
Open `example.spec.ts` and import `agrosScreenshot`
import { argosScreenshot } from '@argos-ci/playwright';Create a new test to capture stable screenshots using `agrosScreenshot` (pass the playwright `page` fixture and unique name of the screenshot)
test("screenshot homepage", async ({ page }) => {
  await page.goto('https://argos-ci.com/docs/getting-started');
  await argosScreenshot(page, "homepage");
});
To capture screenshots on CI, add the Argos reporter to the `playwright.config.ts`
export default defineConfig({
  // ... other configuration

  reporter: [
    ['list'],
    // Add Argos reporter.
    [
      '@argos-ci/playwright/reporter',
      {
        // Upload to Argos on CI runs only.
        uploadToArgos: !!process.env.CI,

        // Set your Argos token (required if not using GitHub Actions).
        // token: '<YOUR-ARGOS-TOKEN>', (disabling this since we are     using GH Actions).
      },
    ],
  ],

  use: {
    screenshot: 'only-on-failure',
  },

});
Create a workflow to run your playwright tests on CI on push/pull_request
Push your project to GitHub repo we created.
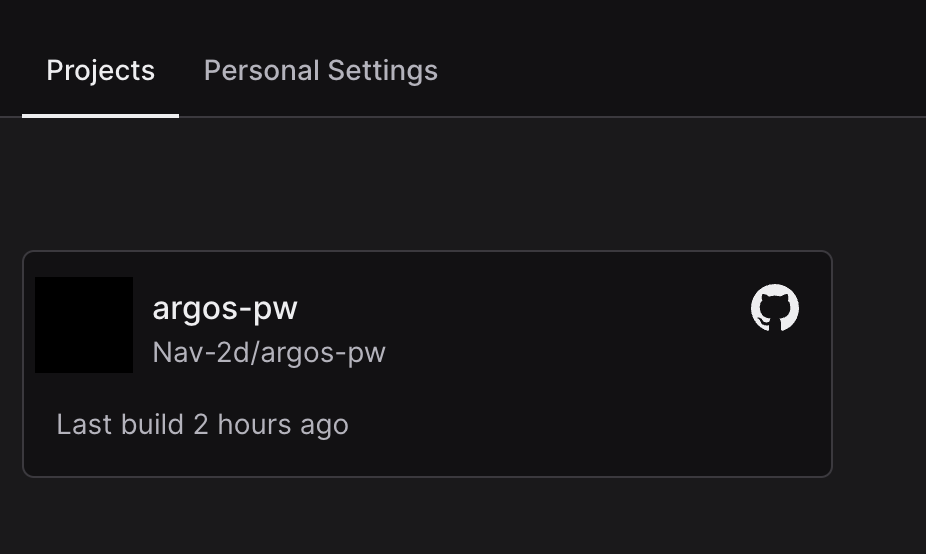
A build is triggered on push to `main` branch. In Argos CI dashboard, you will notice a reference build is created. (More on reference builds)

Okay. We have setup Argos CI + playwright and our tests are running on CI which generates screenshot of our page.
Detect / Review changes
Let’s try to see how Argos CI can detect regressions and UI inconsistencies and how we can use Argos CI dashboard to spot discrepancies and understand visual changes without the need for cumbersome manual checks.
Locally, switch to a new branch and in `example.test.ts`, modify our existing test to see the visual difference.
test("screenshot homepage", async ({ page }) => {
 -  await page.goto('https://argos-ci.com/docs/getting-started');
 +  await page.goto('https://argos-ci.com/docs/why-argos'); // we are just changing the url

  await argosScreenshot(page, "homepage");
});
Push the new branch to GitHub and create a pull request. Once the GH action build finishes, observe the comment created by argos-ci bot that shows there are changes detected which needs to be reviewed. Also, the pull request has some checks that were not successful (more on summary checks).
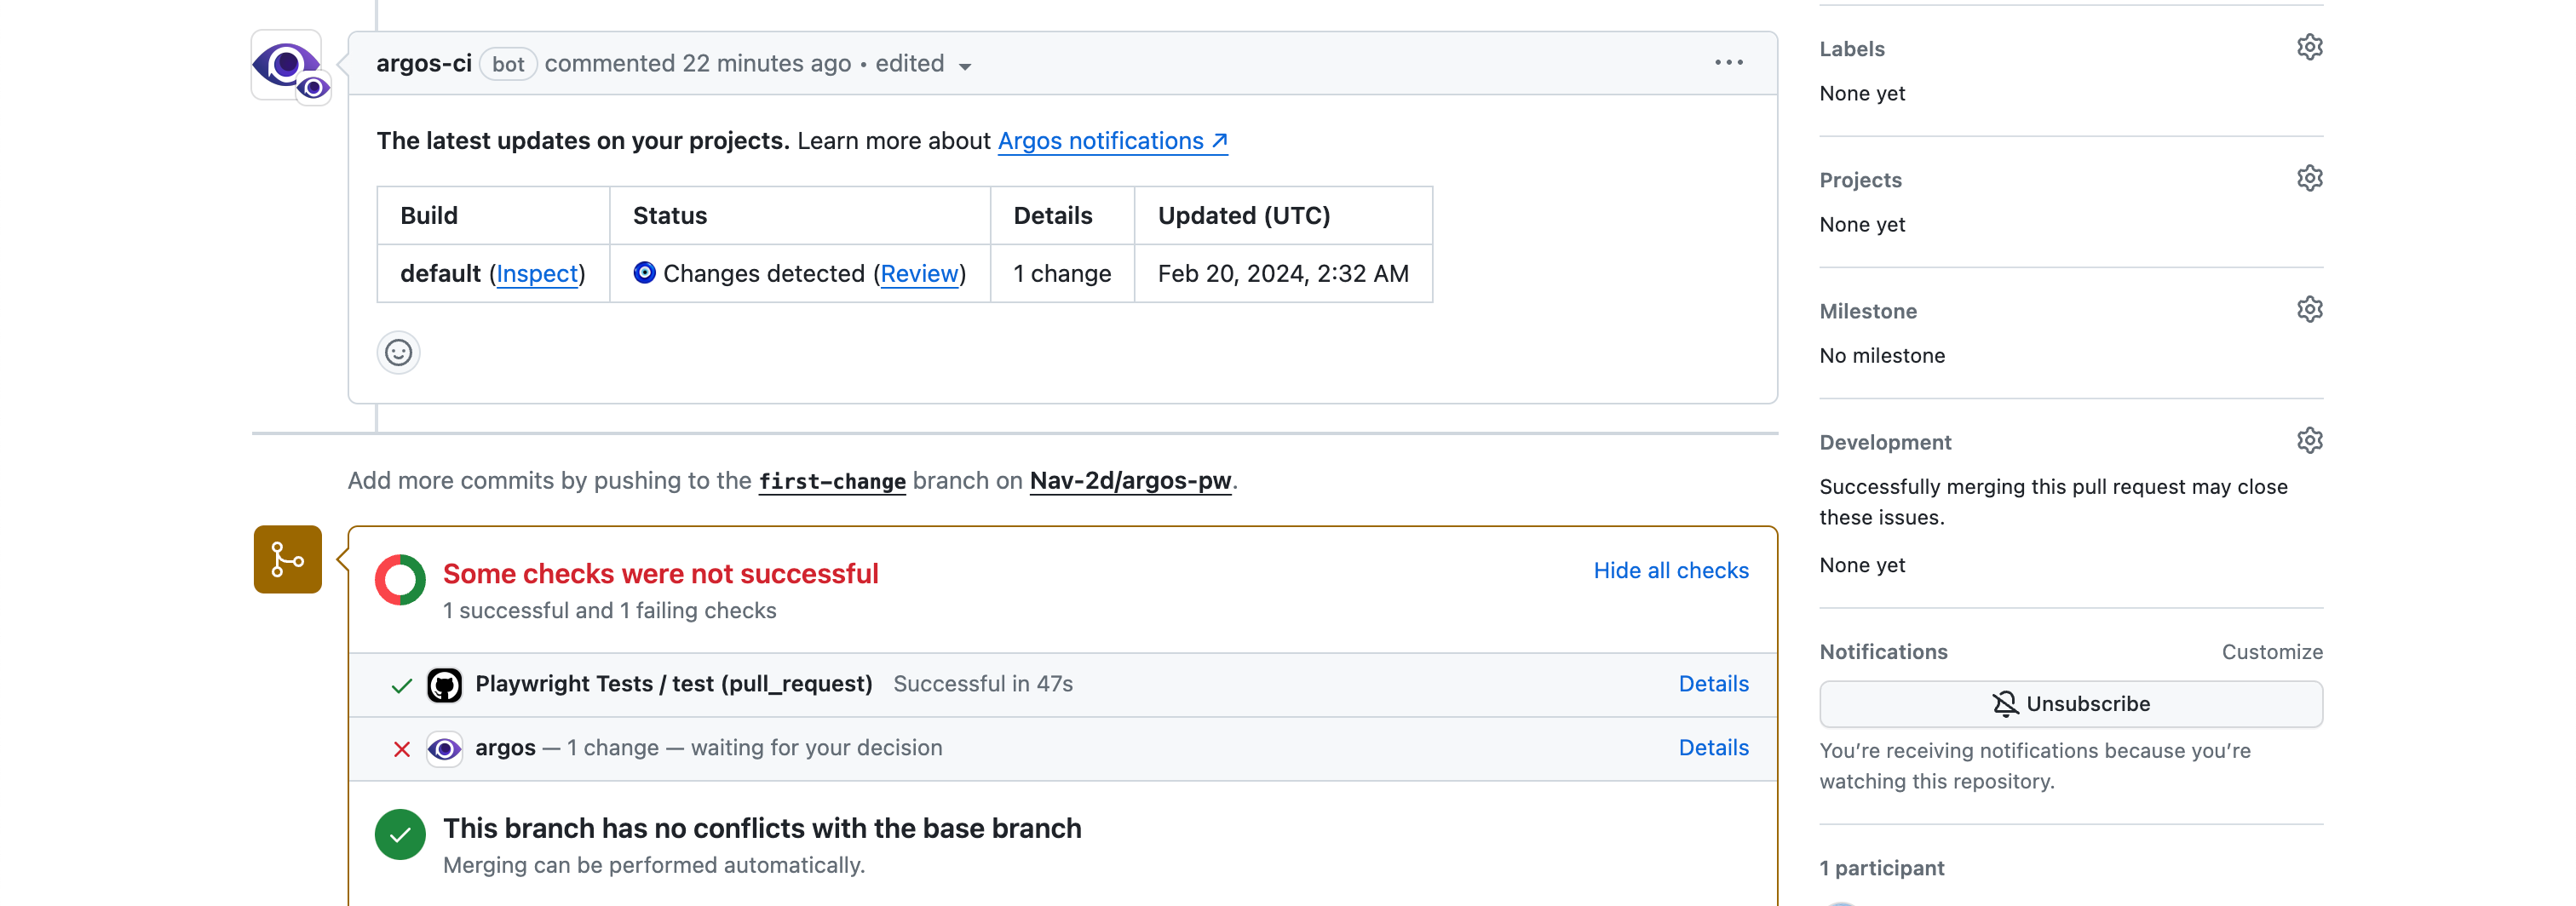
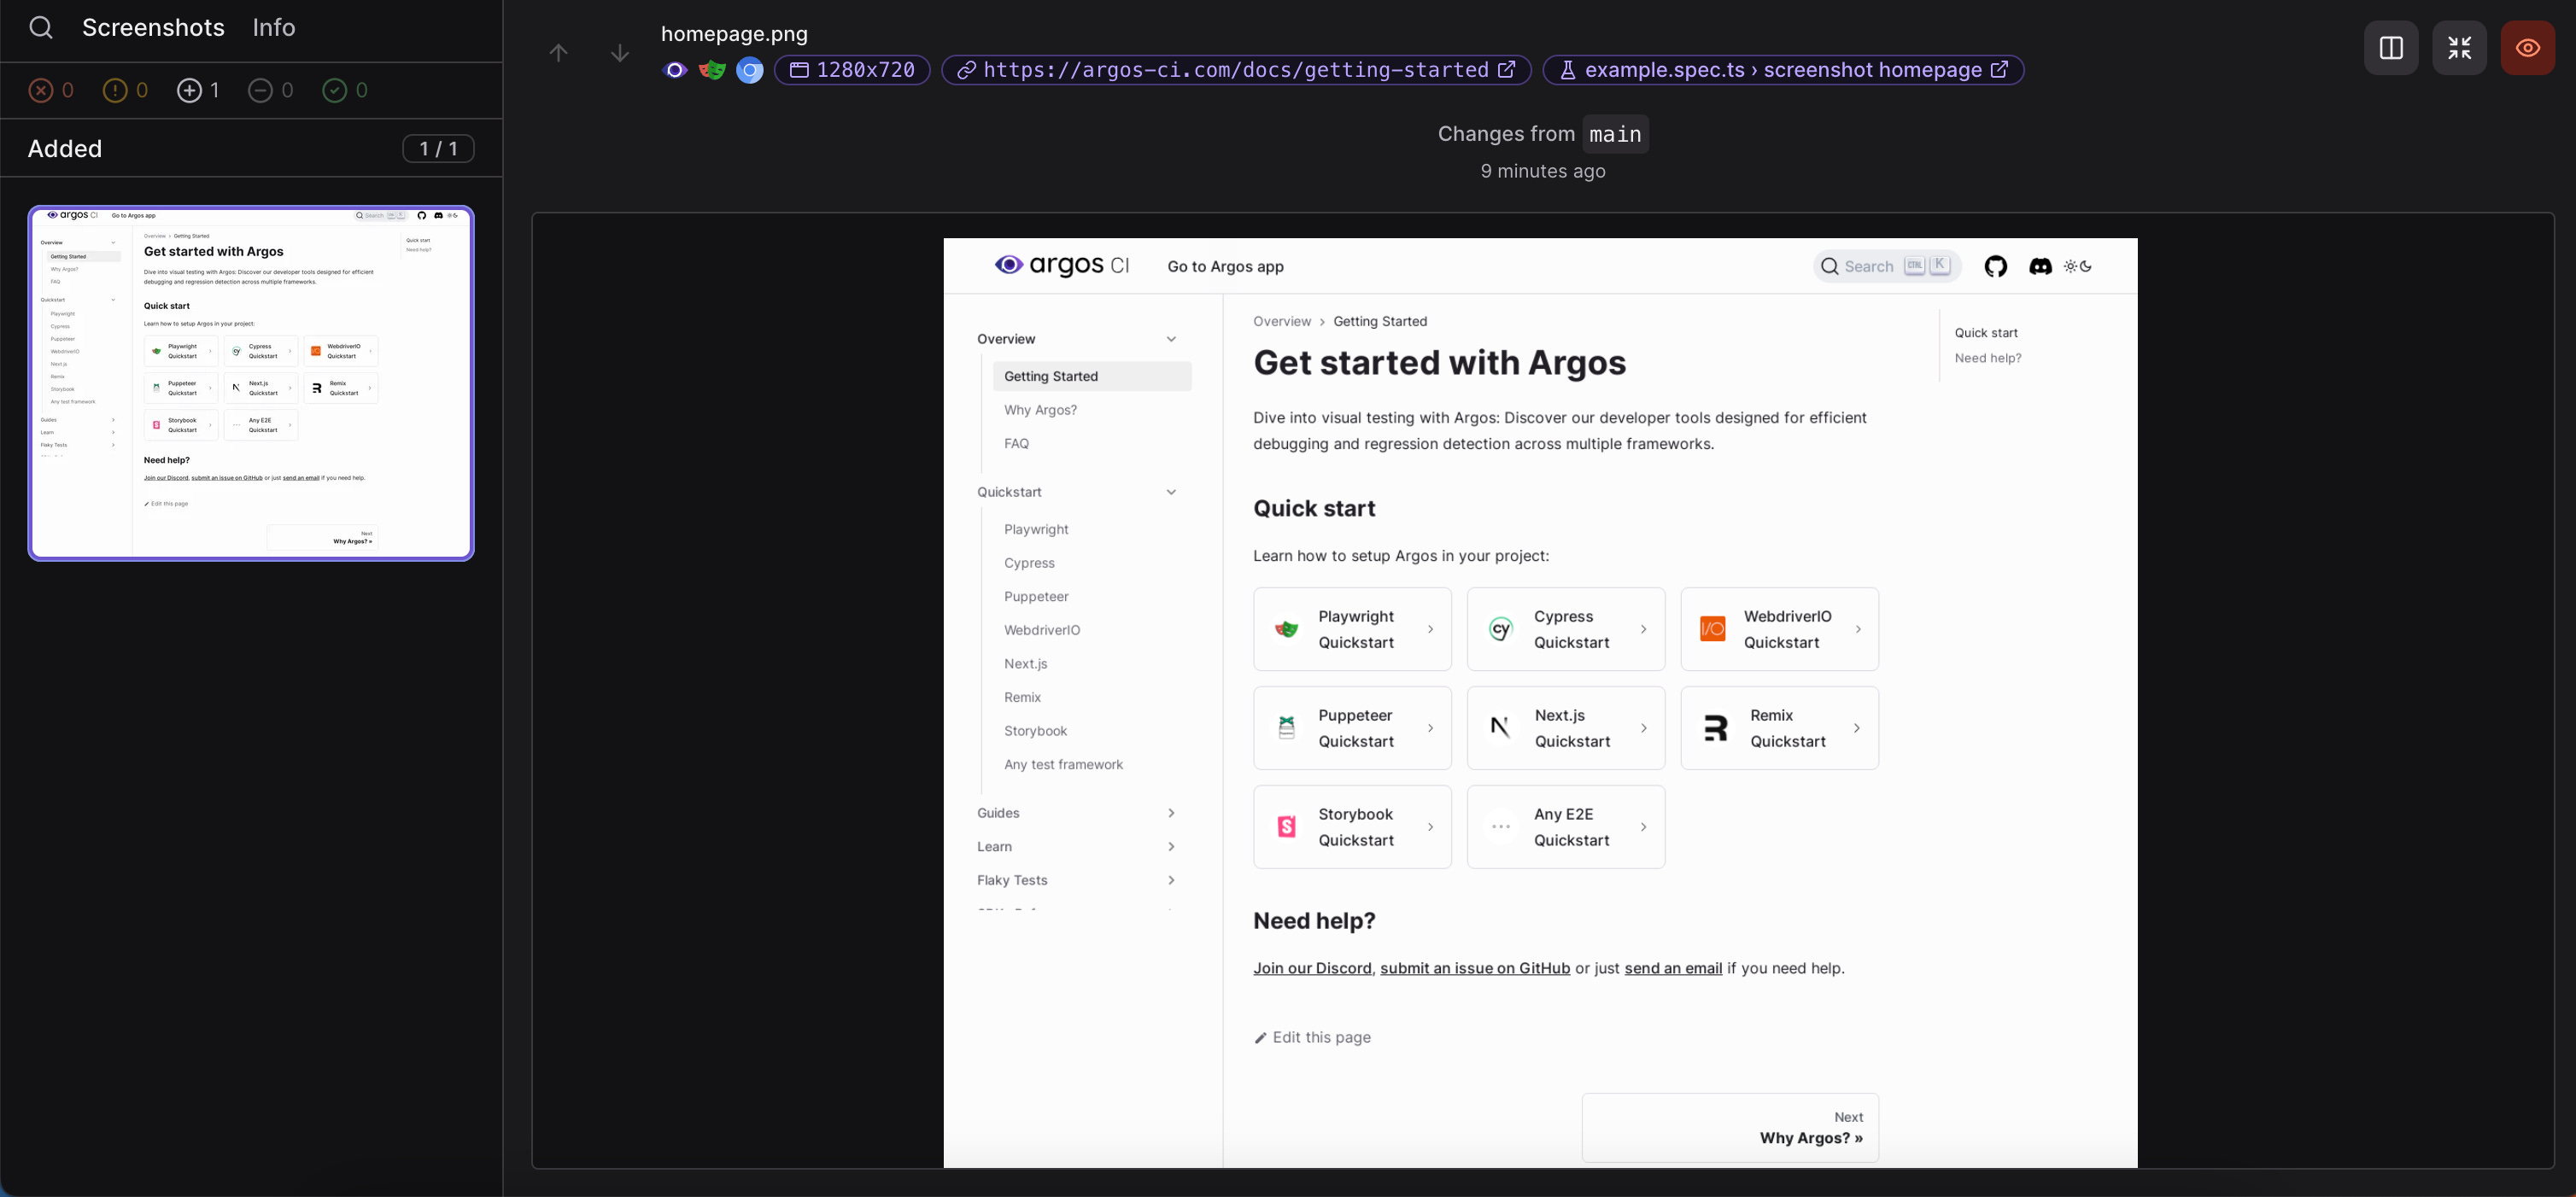
You can click on “Inspect” or “Review” from the comment in the pull request or navigate to Argos CI dashboard to open the build.

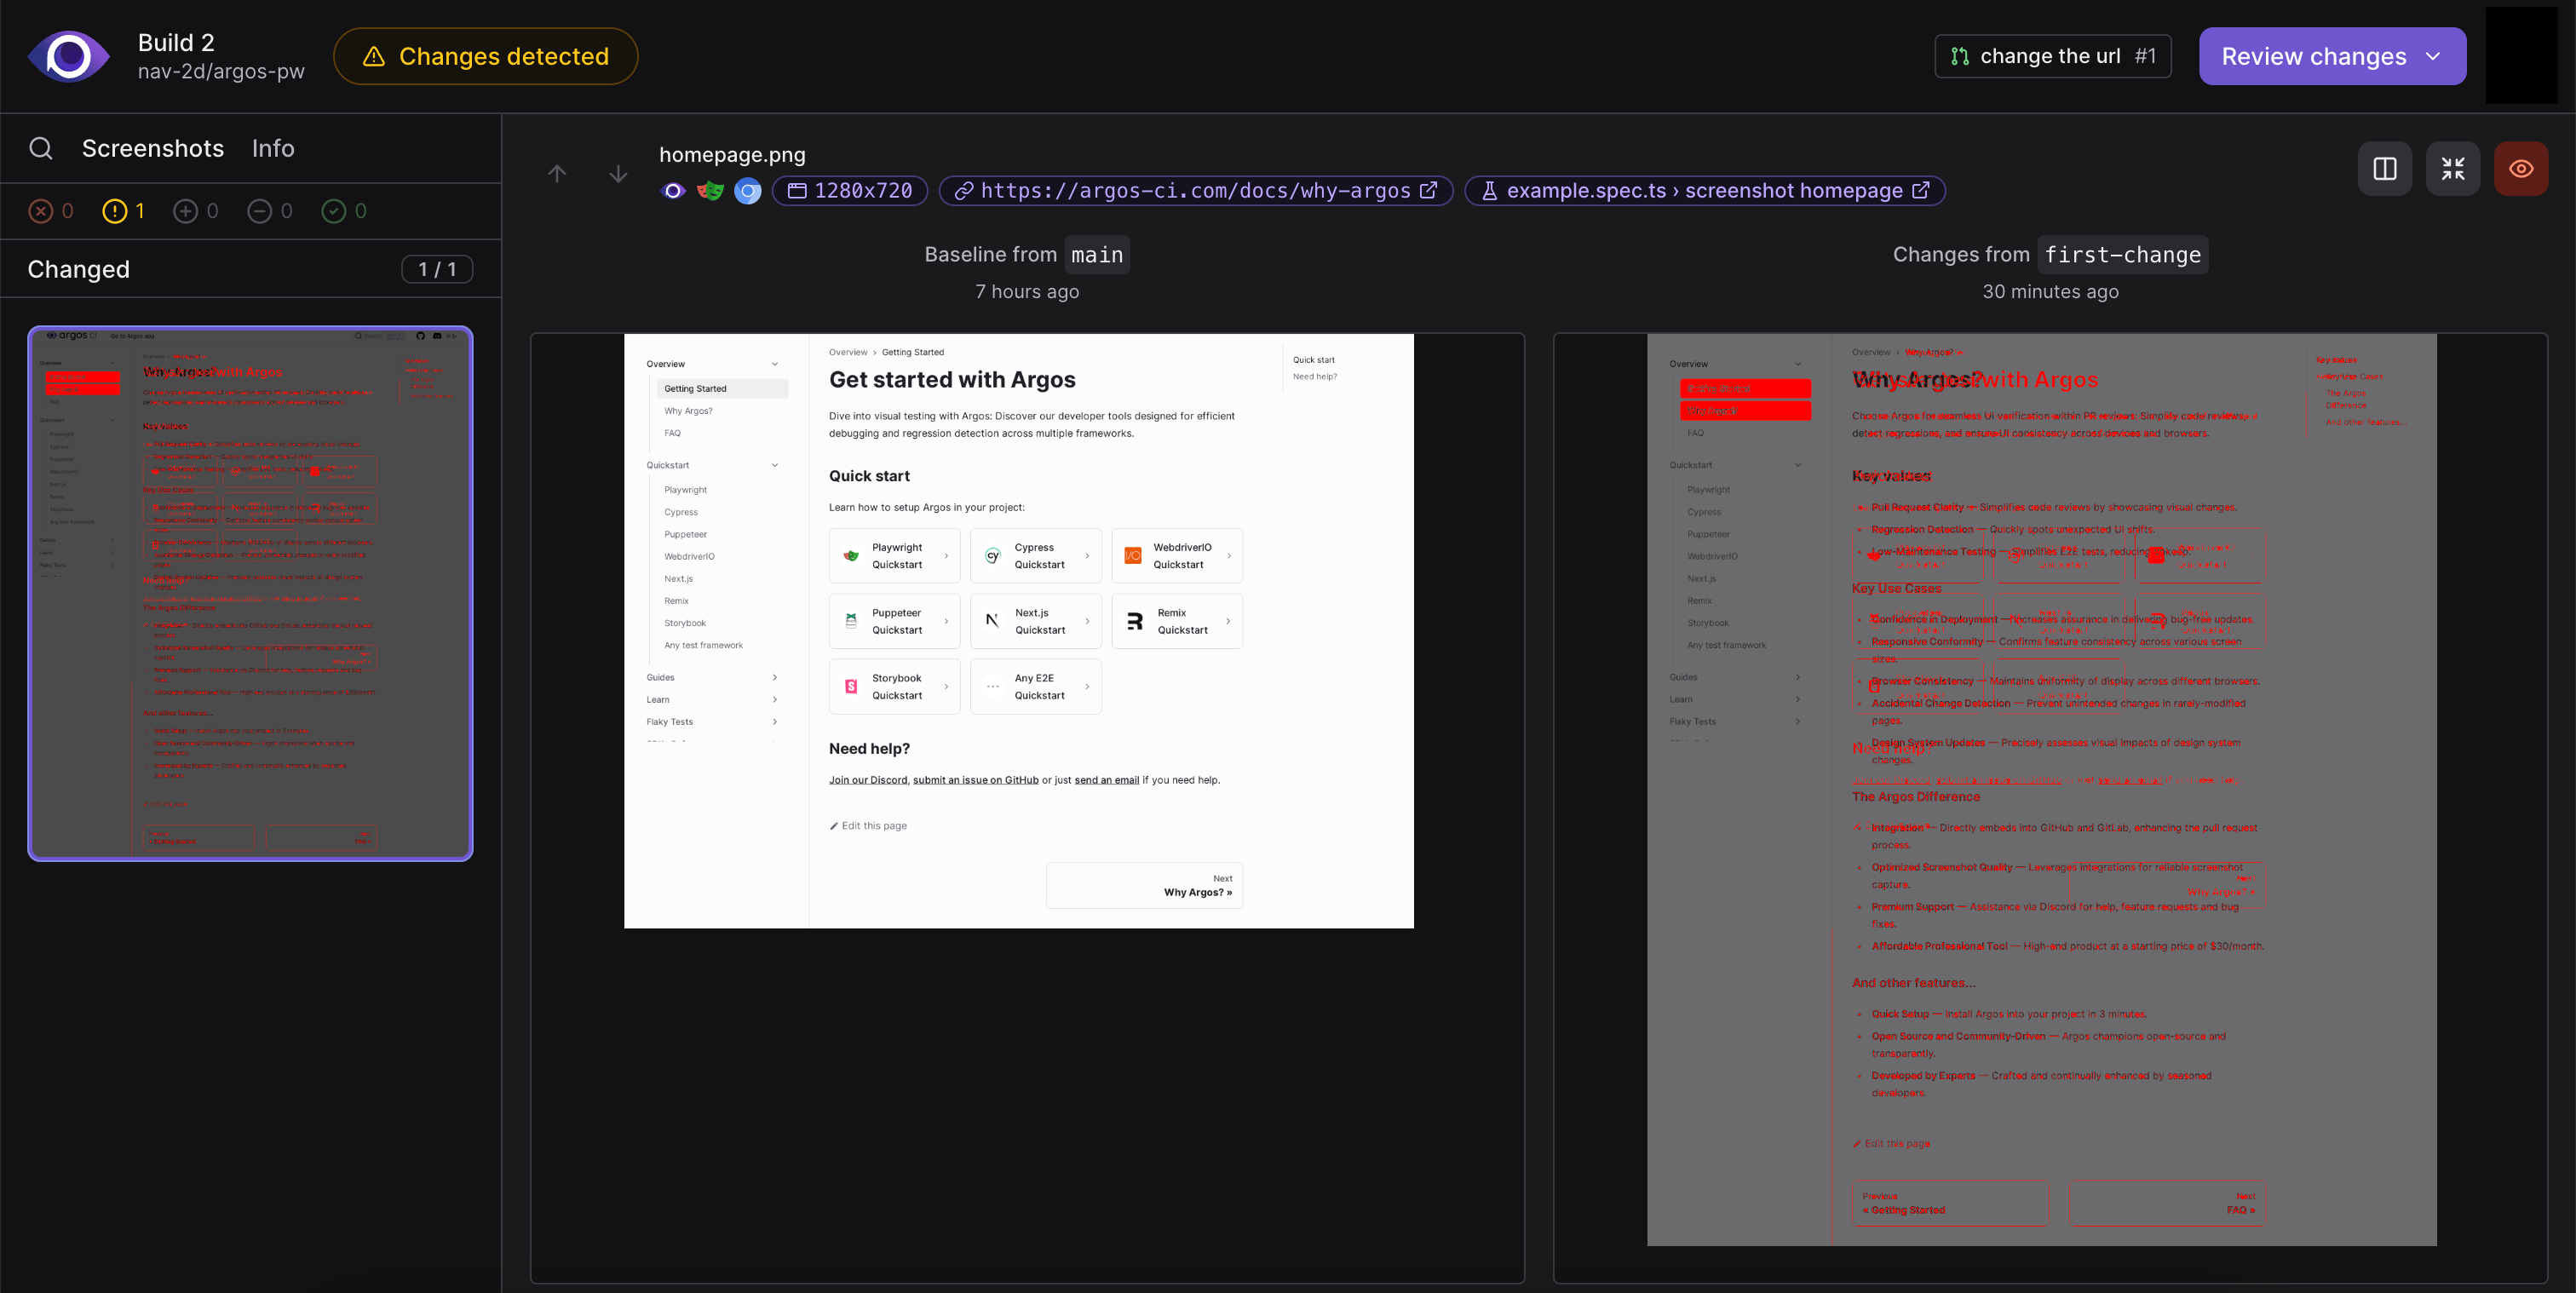
Using the “Review changes” button on the dashboard, you can “Approve” the changes if the changes are expected or “Reject” the changes to prevent unindented changes.
This will be automatically updated in the pull request based on your selection.

Useful resources:
Repo link - https://github.com/Nav-2d/argos-pw
Example build - https://app.argos-ci.com/nav-2d/argos-pw/builds/2/77480555
Argos CI documentation - https://argos-ci.com/docs/getting-started
In Part 2, we will cover how to run the tests on multiple browsers and view them in Argos CI dashboard.